
I still remember the first time I walked into my college dorm room in 2004. The cramped room (my freshmen class was one of the biggest in school history meaning dorm rooms for four people were now filled with five) wasn’t what surprised me most. What I was most shocked to find was a stand up shower in the bathroom. I guess you could say I was sort of expecting and really just hoping to have found a bathtub in that little dorm room of mine. Leading up to that season of my life, I spent many hours a day as a high level athlete and as a result, many nights soaking my tired muscles in a hot bath. I couldn’t figure out how I would make that happen when I moved away to college especially as a new NCAA athlete but luckily for me I didn’t have to wait too long to figure it out.
Less than a year later I ended up moving into my first apartment for the start of my sophomore year. And you bet that apartment came with not only my own washroom but also a beautiful new tub. My inner bath lover was delighted! And that tub sure got a lot of use that year. I also need to mention this was the apartment building I met my now husband at but that is a story for another day, and believe me it’s a really wonderful serendipitous story.
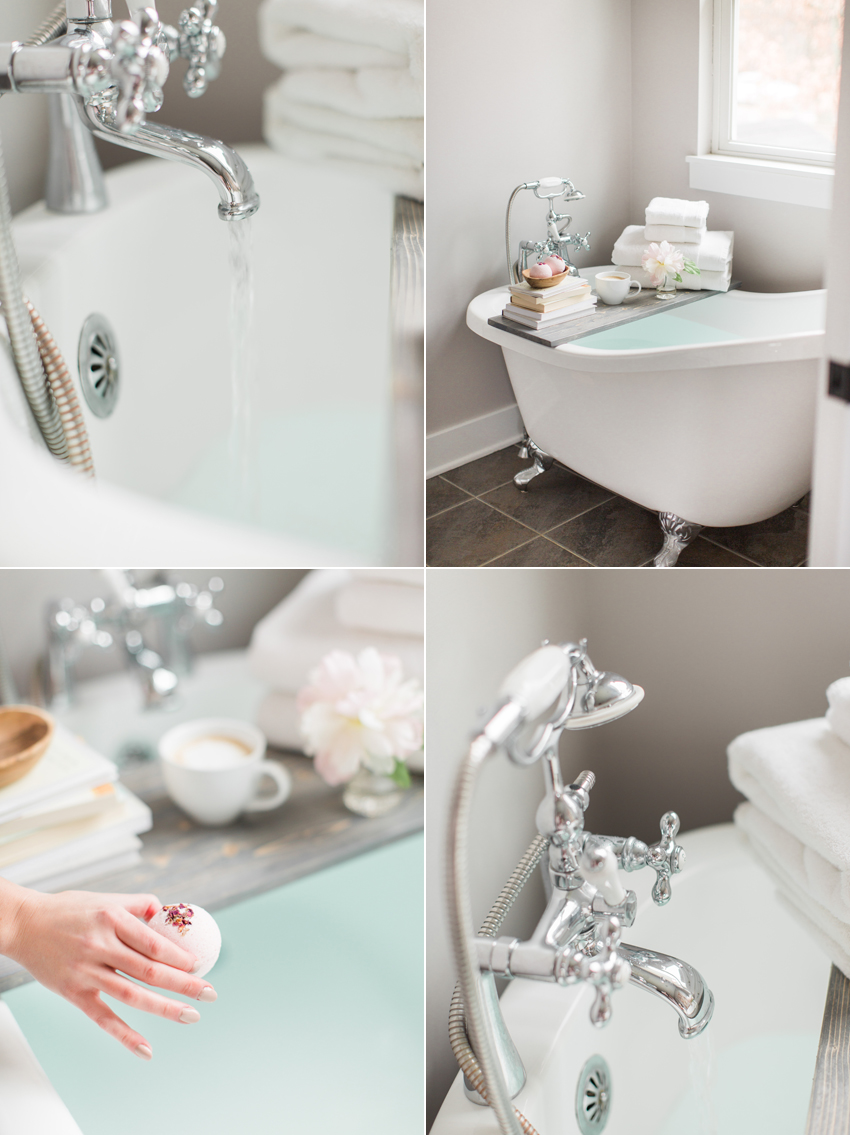
So while I made it through two semesters of dorm life and sharing a shower with four other women, there’s always been a part of me that has loved baths. So much so that when we built our first home in 2011 my only non-negotiable was a clawfoot tub in our master bath. I remember we went to Lowes to check out tub options one evening and I spotted my clawfoot tub from down the plumbing aisle. I took off my boots, climbed in the tub, and sat with my legs stretched all the way to the wall until my feet were perfectly flush against it. It’s like the tub manufacturer made that tub perfectly for someone like me whose 5′ 1.5″. So we walked out of Lowes that day with one new clawfoot tub under our belt and less about $950.00 in our bank account.
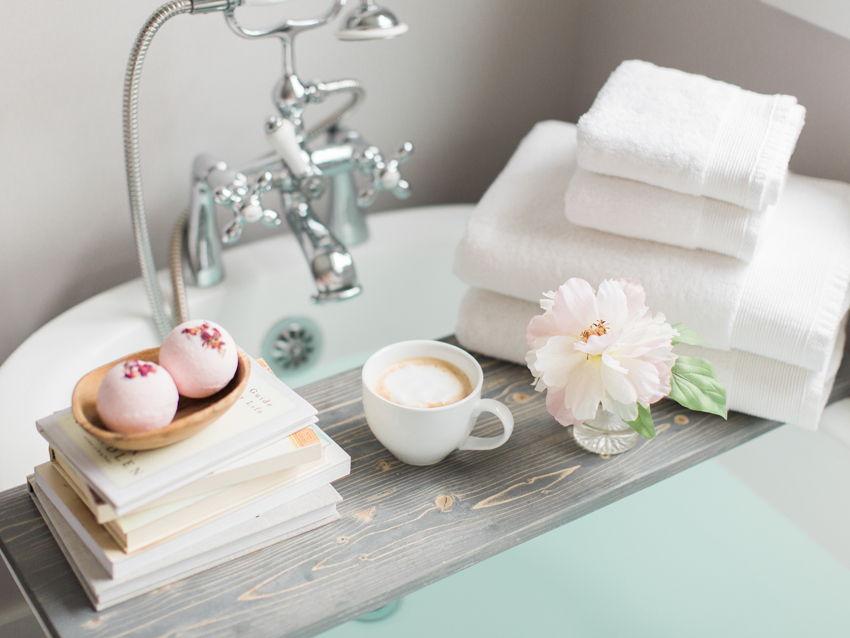
I love soaking in the tub after a long event, the hot water relaxing my muscles. Our tub is where I get to bathe my son and watch him delight in the splashing water. It’s where I can start my mornings or end my days. It’s a spot that even on my most rushed days lends the smallest bit of self care. And while I’m not a huge fan of bath products with artificial scents and other ingredients I can’t even pronounce, I do love bath bombs.
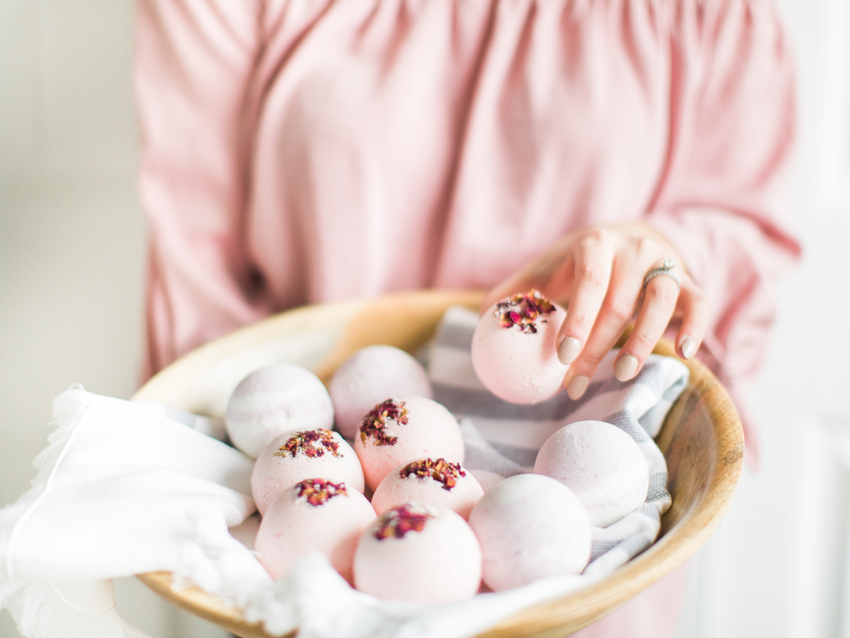
When it comes to gifting, I try to gift intentional things or items that I find a lot of value and pleasure in so homemade bath bombs really fit the bill and inspired me to give this project a go. I tried a variety of online recipes and even the recipe that came with the bath bomb molds, and after about two (admittedly frustrating) trial and error batches found the perfect ratio of ingredients. I shared the final wrapped up bath bombs with a couple of my neighbors and of course Sam who took all of the gorgeous photos, and the consensus was these were a huge hit!
Scroll below for the recipe and helpful how-to tips tucked in throughout.
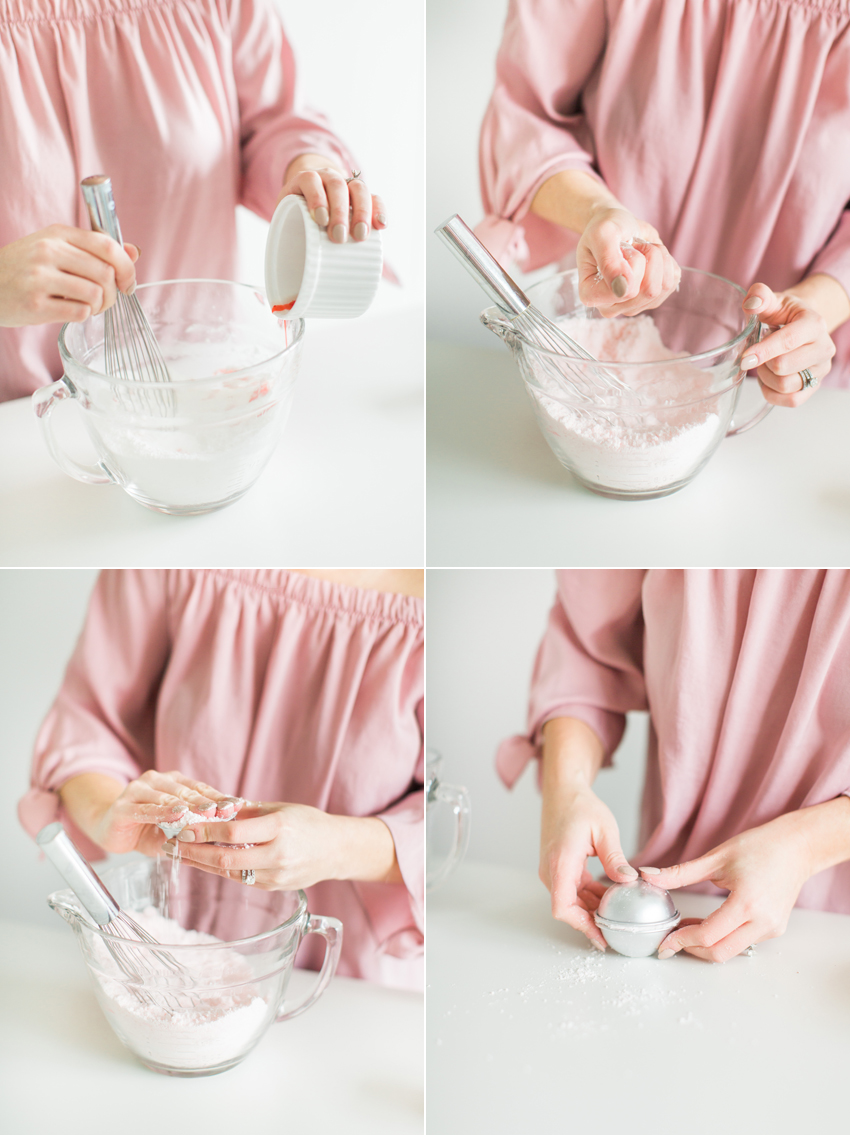
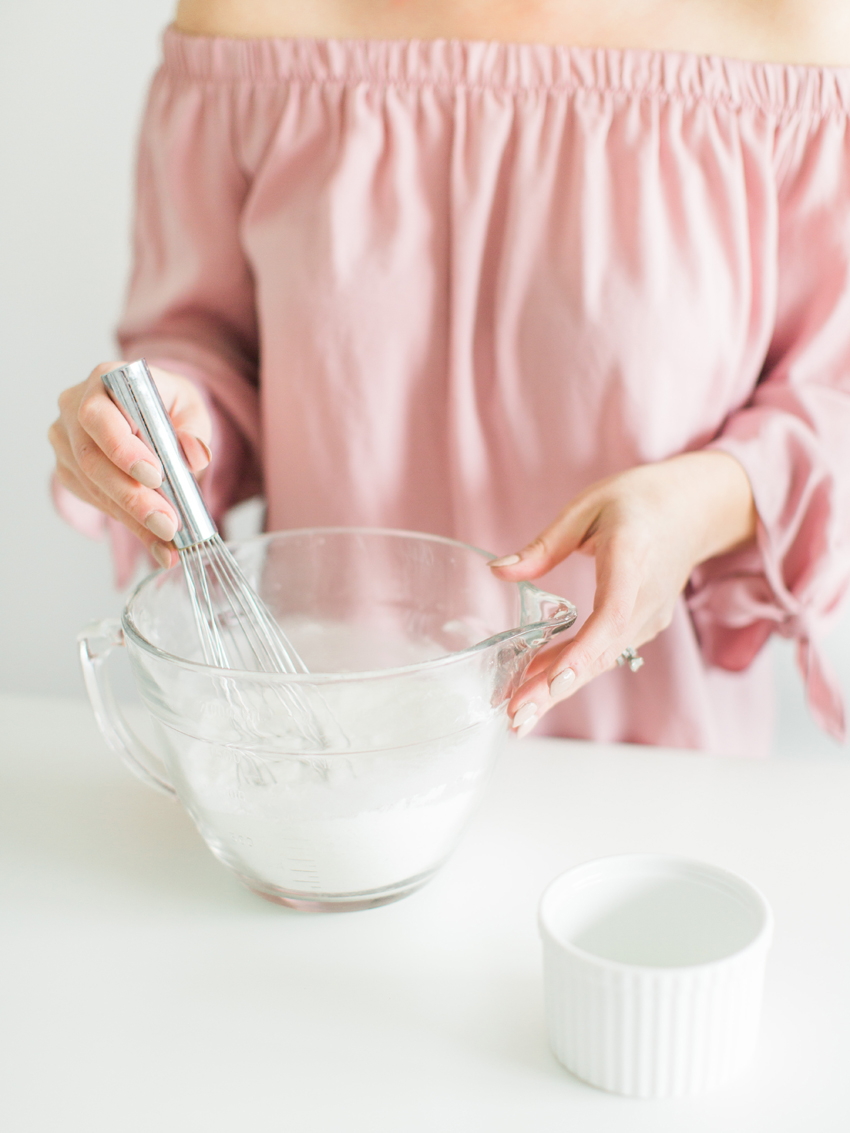
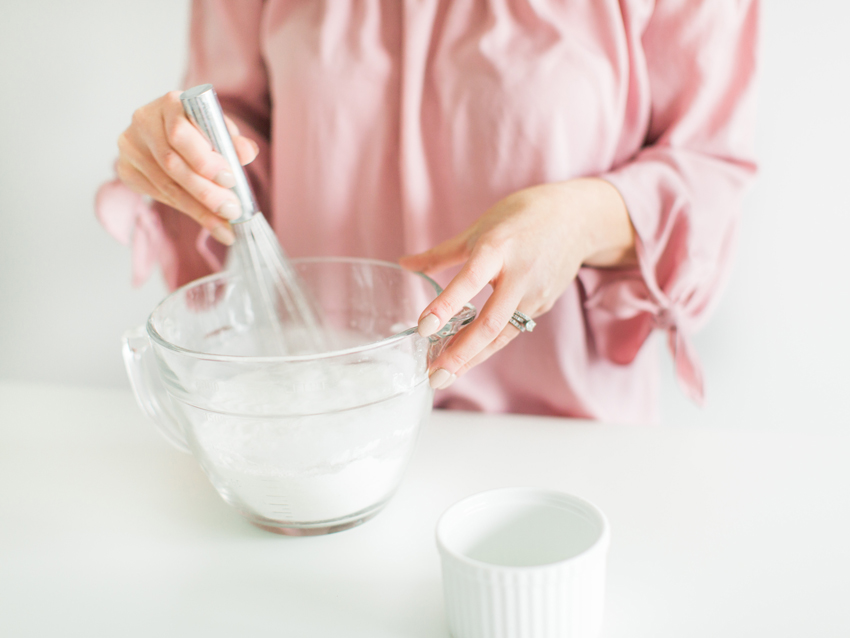
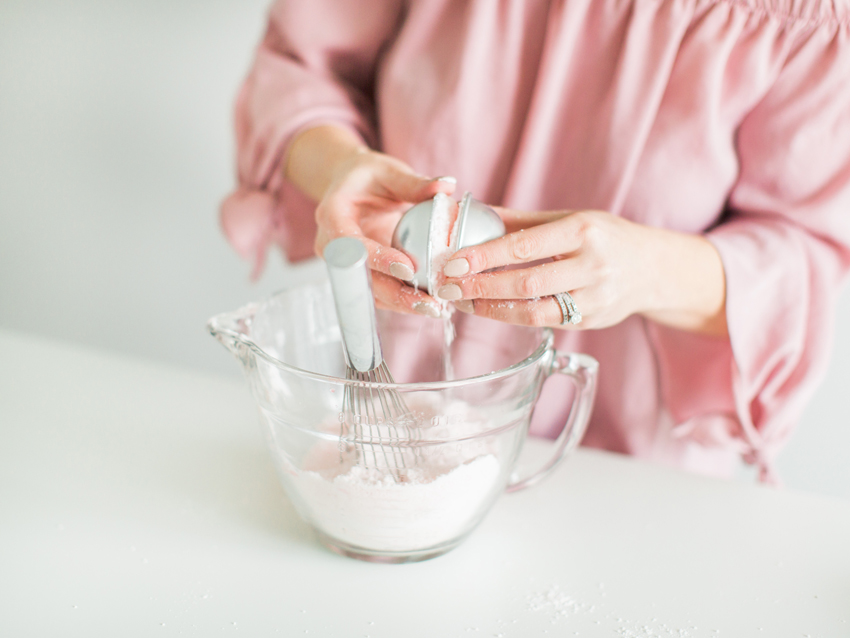
Much like you would with baking, you’ll want to mix your wet ingredients separate from your dry. Only when you’re ready to mix and fill your mold, should you combine the two because the mixture will start to ‘dry’ quickly and keeping the ball shape can get tricky. When you pour in your wet ingredients you’ll also want to pour really slowly so that the citric acid doesn’t fizz too much and compromise the mixture. You’ll know the texture is perfect when you can grab a fist full of the mixture and it’s not too wet or soggy but still has a bit of a dryness and some of the epsom salts flake off a little.
If the mixture feels TOO dry chances are it’s just right!
I made my first batch of bath bombs using an old ice cube tray but it wasn’t until I invested in the actual bath bomb molds that I was able to make the real deal. So I found these on Amazon and they worked perfectly. You fill up both sides of the mold with your mixture (overflow the cups just a little), push the two halves together tightly to create a ball, then lightly release both sides to reveal your bath bomb. I gently brushed away the ‘ring’ left behind where the two halves came together but you could keep that if you like the look better (like the ones you see in Lush!)
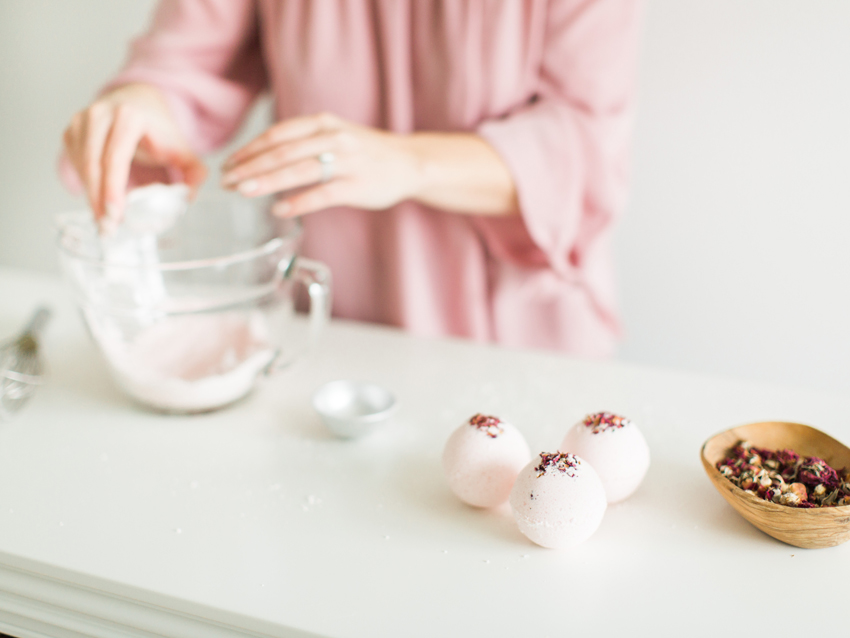
Gently put them aside to dry and set for about 24 to 48 hours. If the mixture doesn’t hold well enough it could be too dry. And if the bath bombs aren’t drying and feel too slimy (from the oil) you may have added too much liquid. This is a very easy project but it might take a little troubleshooting. Scroll down for the recipe!
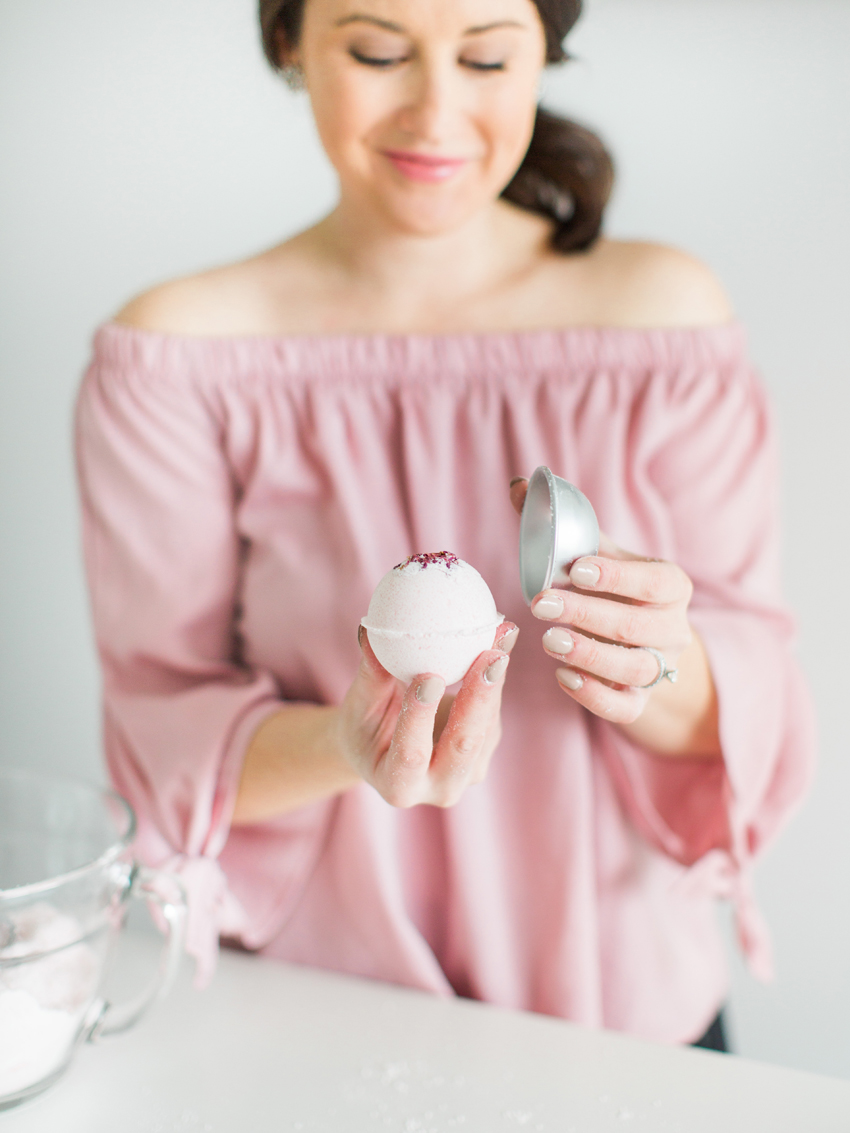
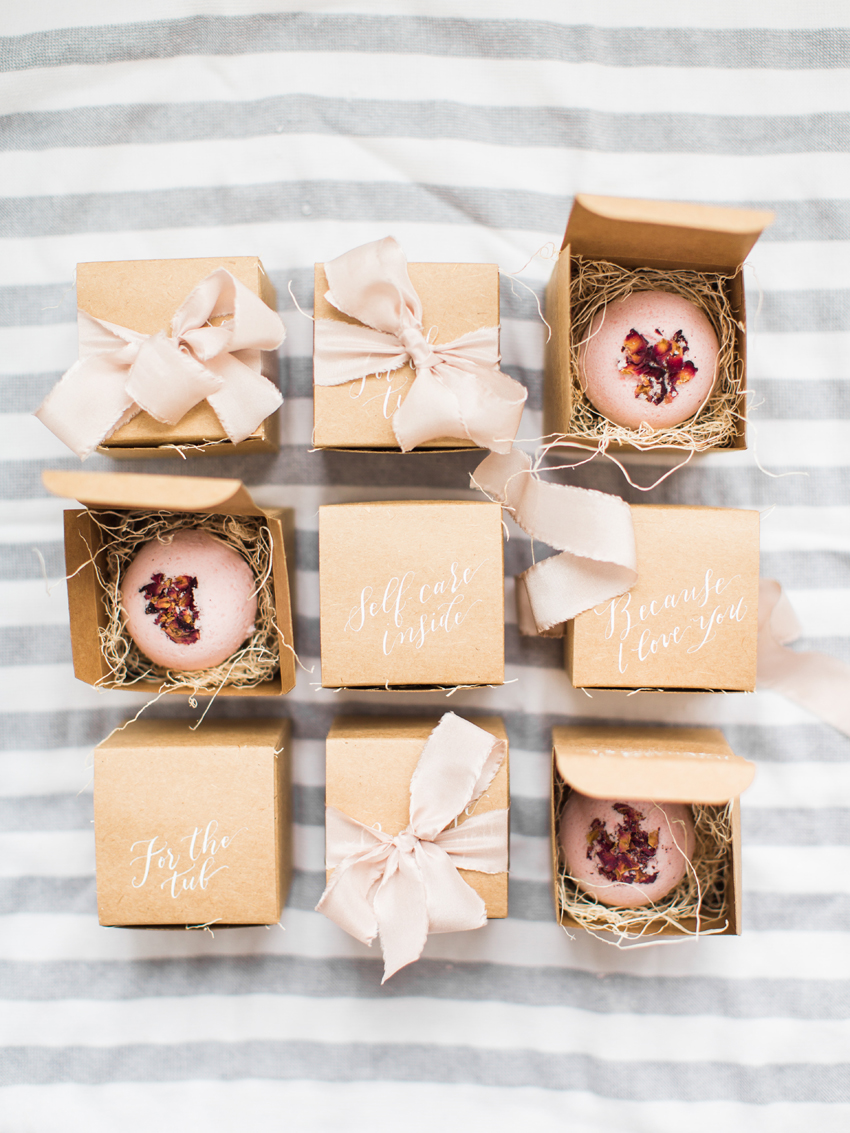
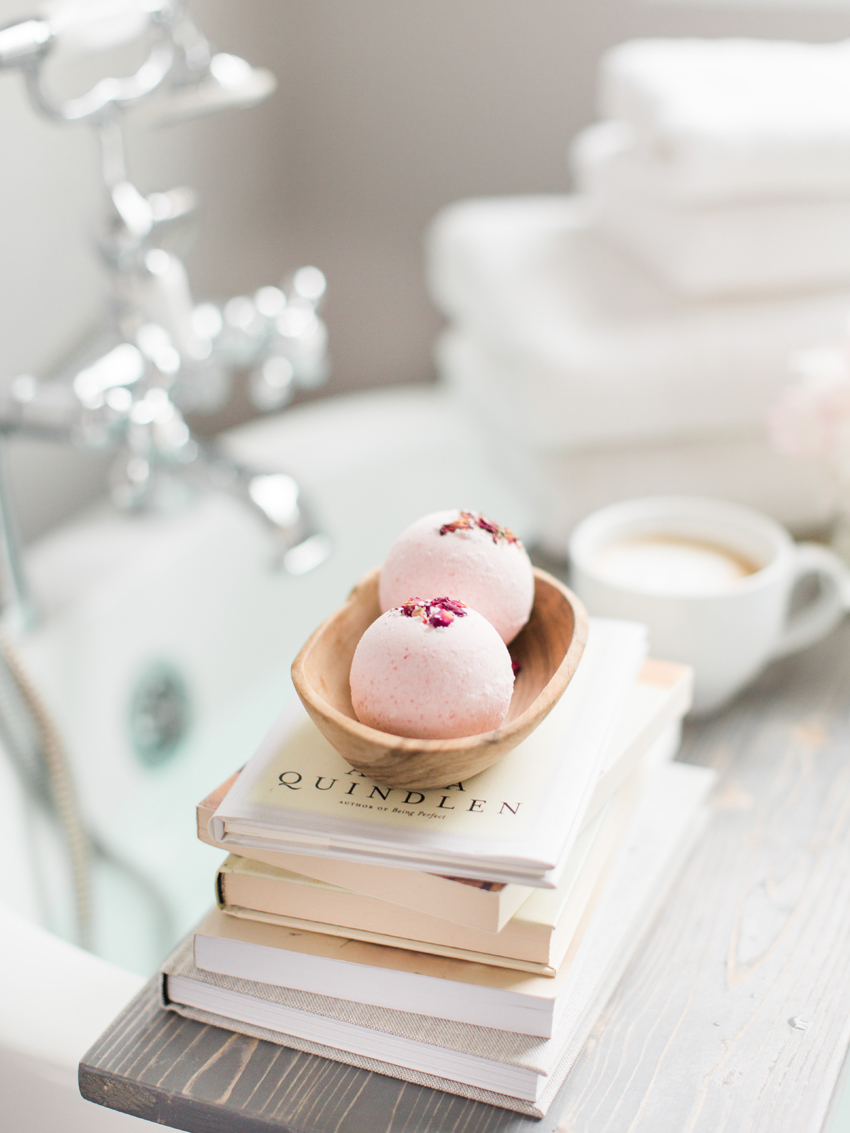
Aren’t these so beautiful?

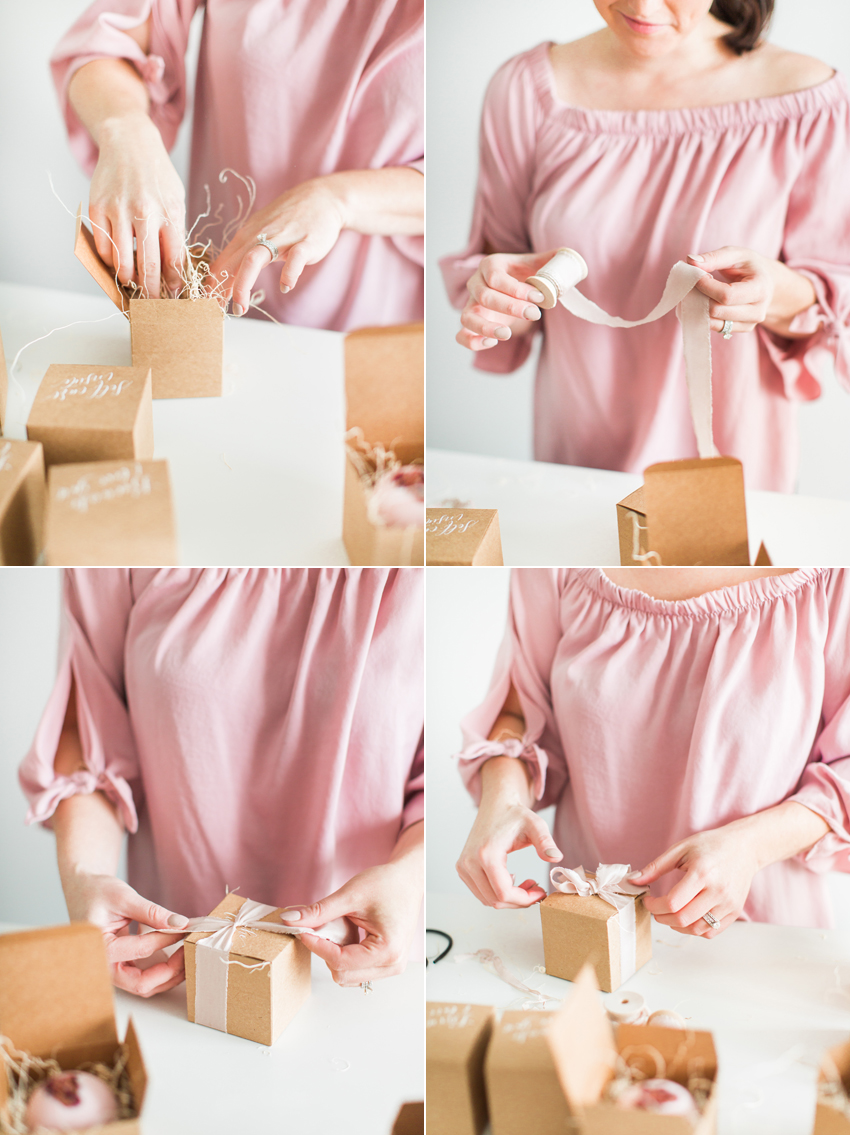
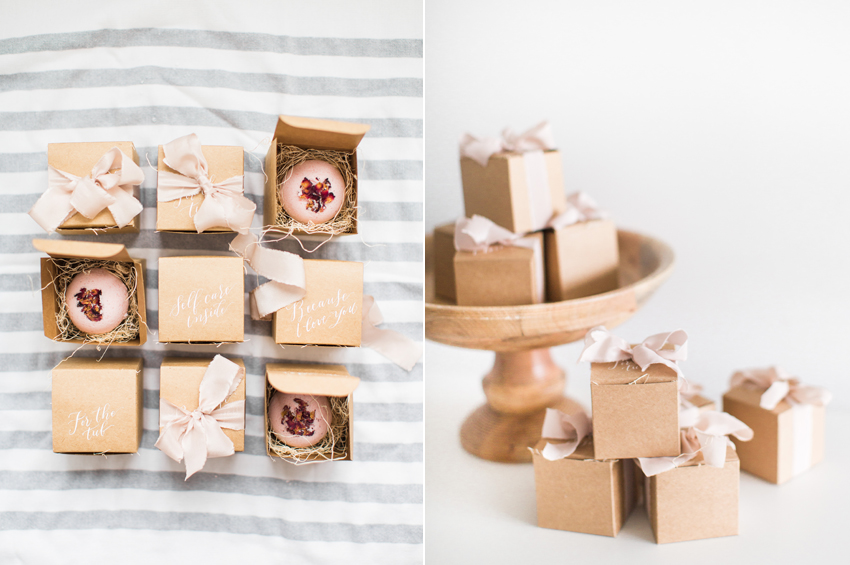
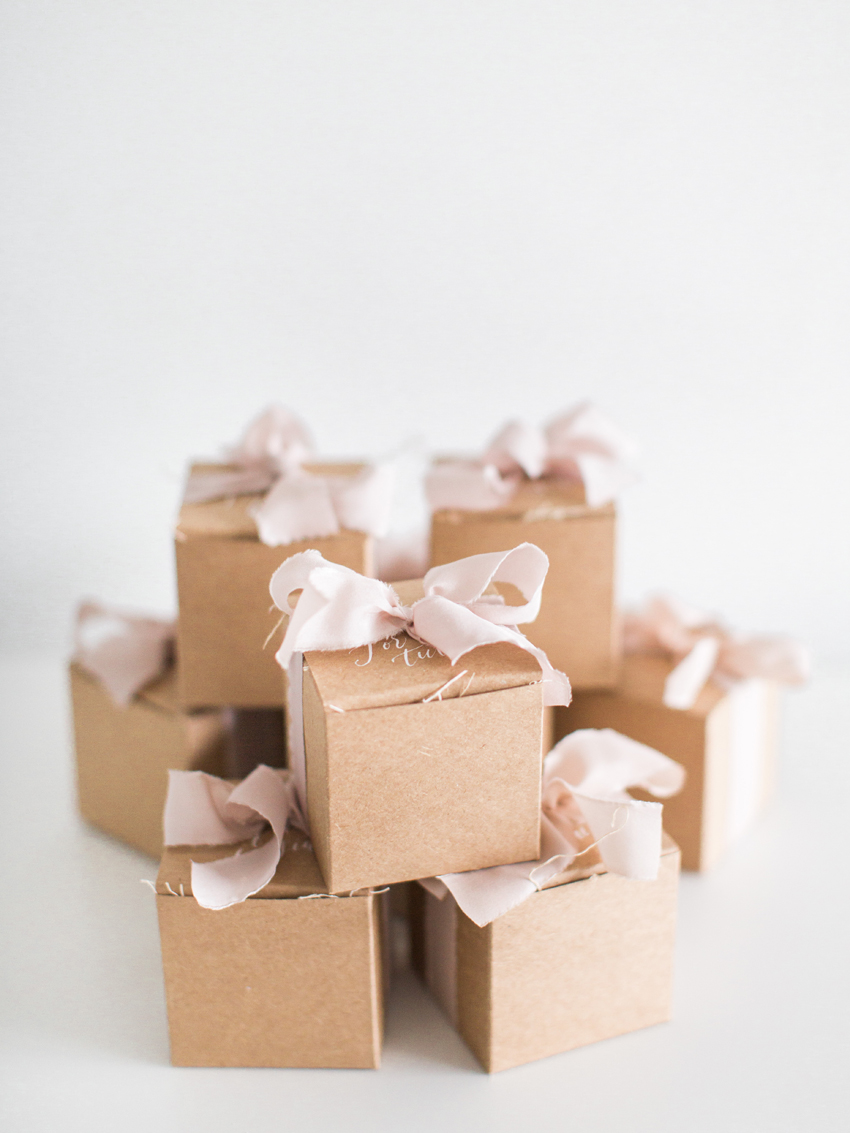
I love thoughtful presentation as much as the gift itself.
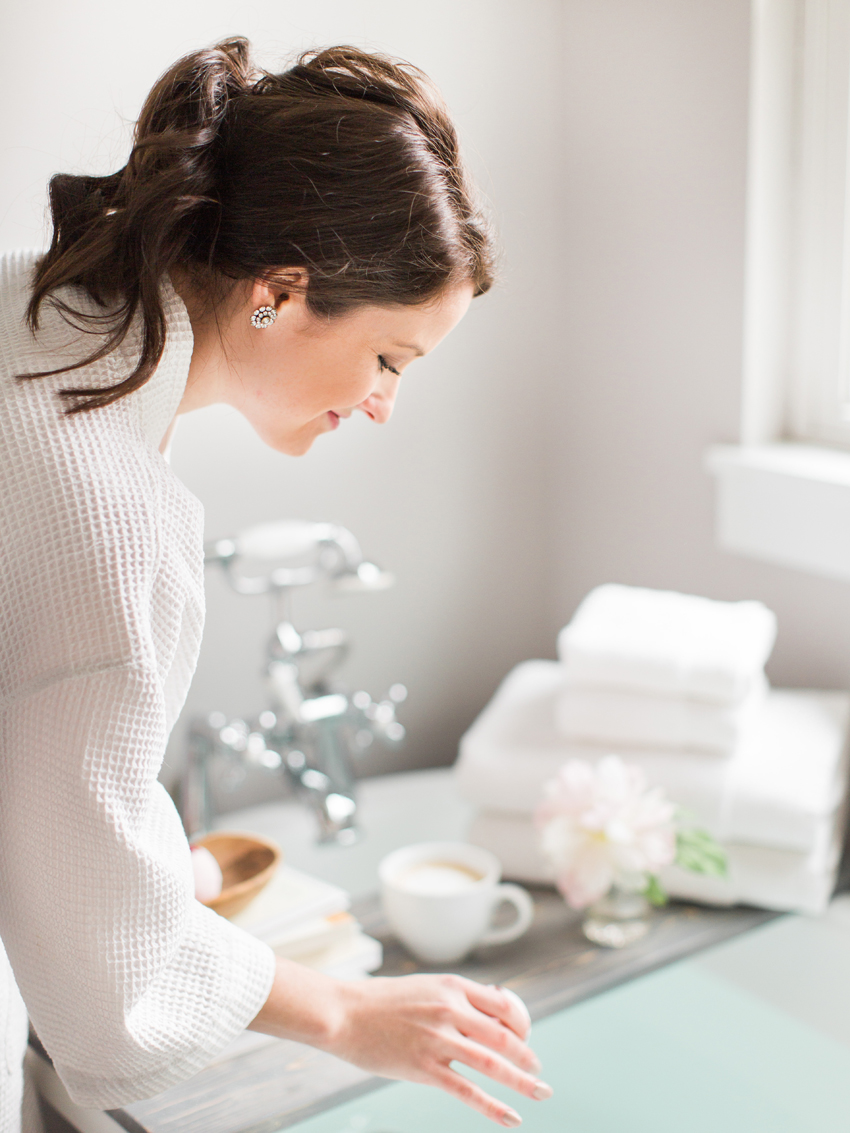
And see that beautiful tub! I adore it. While I rarely sip lattes in there and it certainly isn’t always this pristine looking (there’s currently a random assortment of chewed-on alphabet bath toys in there), the bath shelf and my favorite books do stay out so I can try and get a few chapters in when I have some me time.
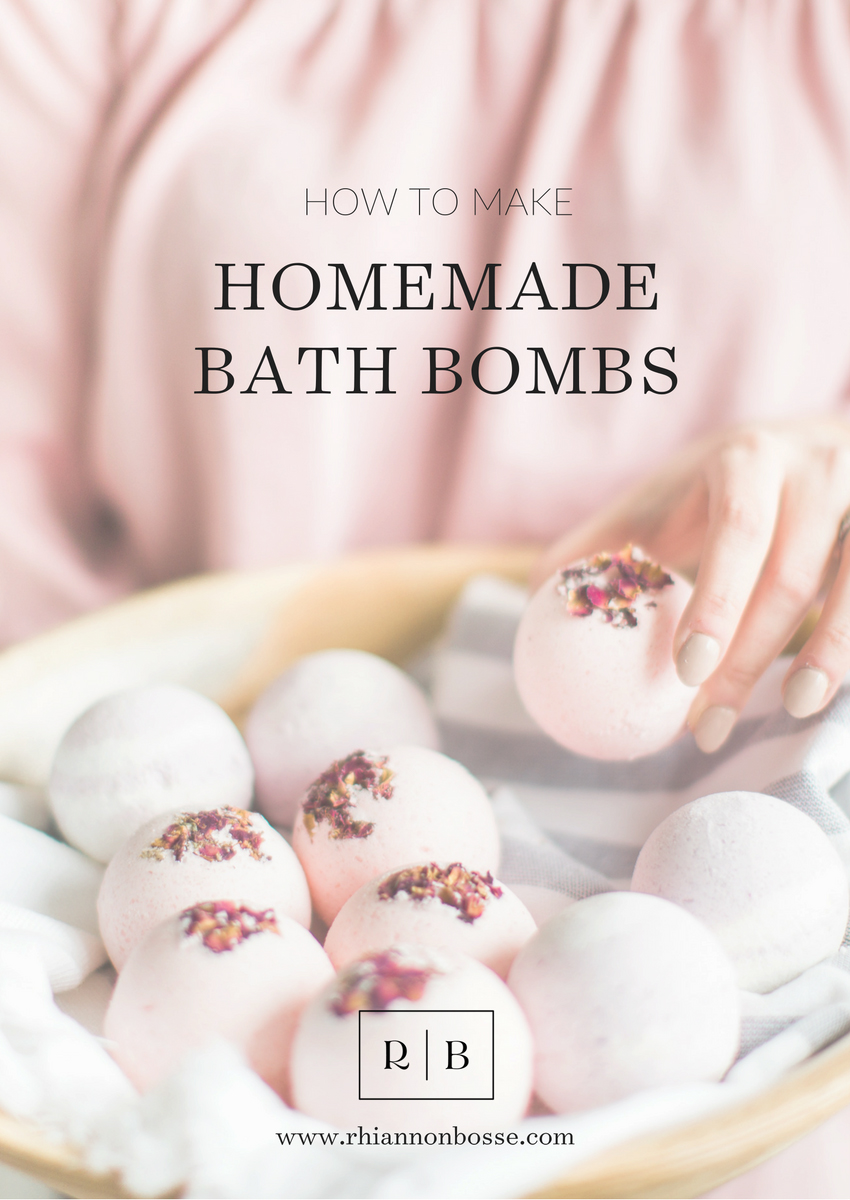
HOMEMADE BATH BOMBS
1/2 cup baking soda
1/4 cup cornstarch
1/4 cup citric acid
1/4 cup Epsom salts
1 1/4 teaspoon essential oils (we used a floral scent)
1 1/4 teaspoon of melted coconut oil
1 teaspoon of water
1 – 4 drops of food coloring
a handful of dried rose petals (optional)
Some more thoughts on making these yourself:
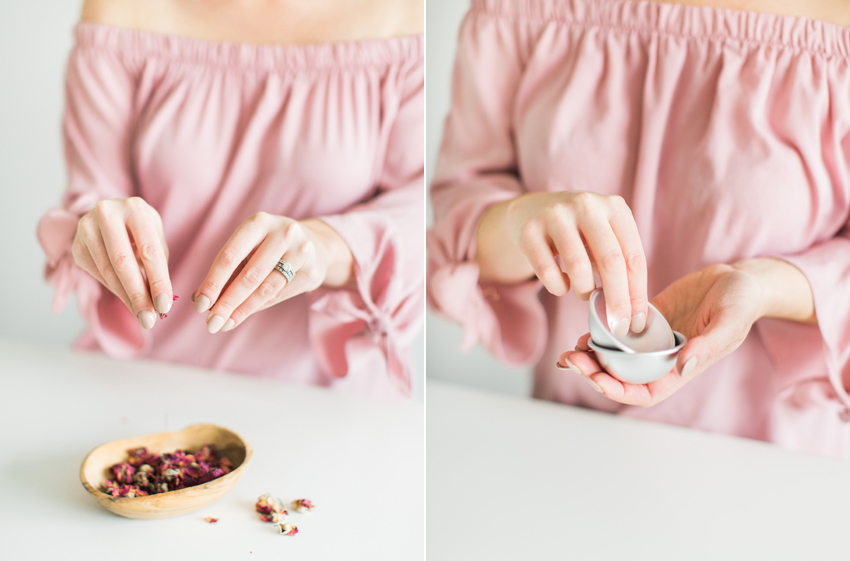
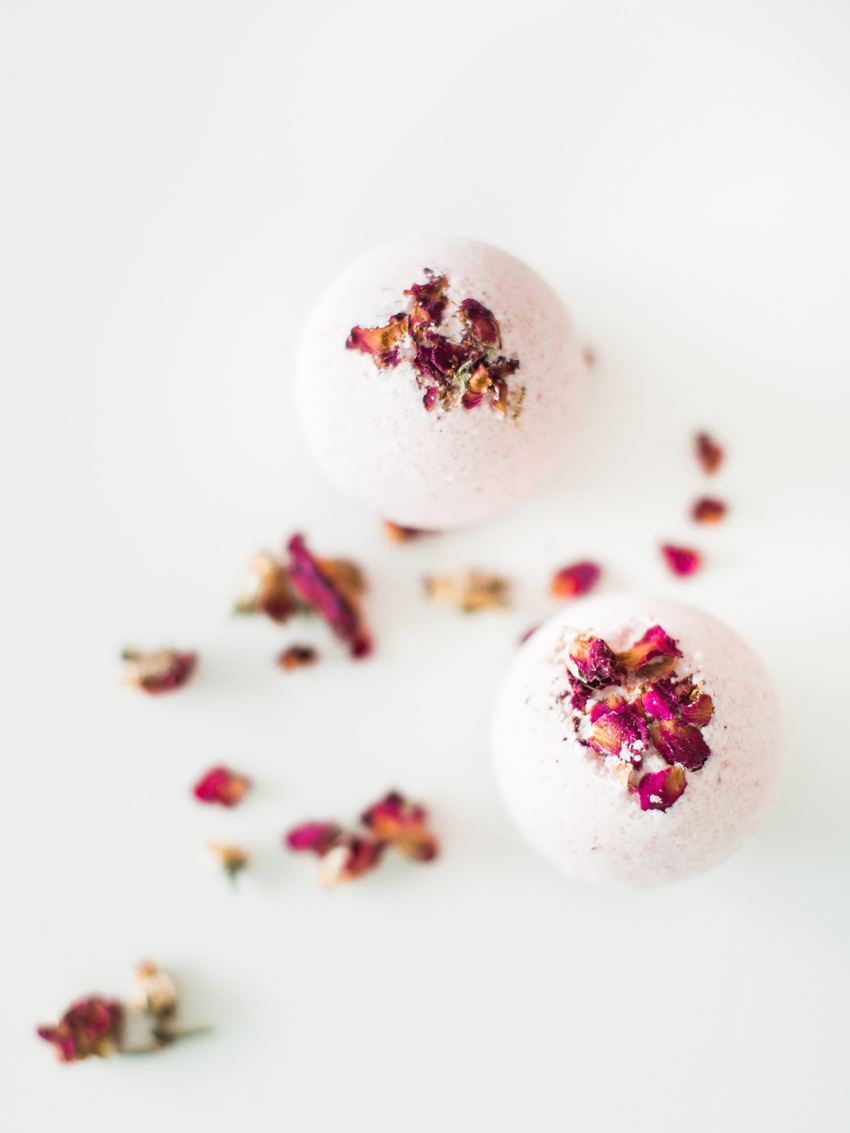
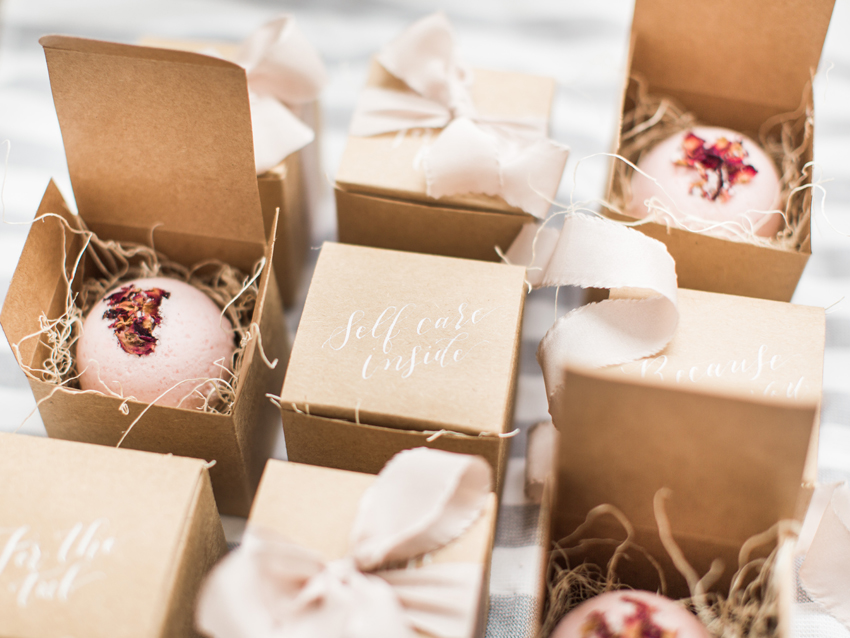
• You can use whatever scent you’d like in your bath bombs and can use food coloring to tint them in your desired color. A very SMALL amount of food coloring goes a very long way. For the pink color you see in the photos here we used about 3 drops of red food coloring. For the dried rose petals in the top of the bath bombs, I just filled up the bottom of the mold with the desired amount and then filled the rest up with the bath bomb mixture.
• The citric acid is what makes the bath bombs ‘fizz’ when they hit the water. You can make bath bombs without it but personally for me, the ‘fizz’ is part of the experience so I used that in my recipe. You could search for bath bomb recipes that do not use the citric acid if you felt strongly about not using it. You can get citric acid here.
• I found one to two weeks was an appropriate shelf life for the bath bombs. I wouldn’t necessarily say they go bad (the only thing really perishable in them is the coconut oil) but I believe they stay fresh and fizz best if you use them soon after making them.
• For the packaging, I found simple Kraft boxes on Etsy and then had my friend Alex of Prairie Letter Shop pen sweet and appropriate messages on the tops. Using a bit of silk ribbon I fastened a bow around each box and voila! Instant joy for anyone receiving this beautiful package. Fn fact: you could also keep these in your guest bathroom anytime you have company overnight. What a fun treat to let your guests know they are free to enjoy!
So what I really want to know, are you a bath lover or do you prefer showers? Let me know below!
A special thank you to Samantha James Photography for the gorgeous photographs throughout this post.
Oh! And the relaunch giveaway is STILL on until the end of the week. Be sure to enter over here.