
Three things!
First, I find it laughable it only took the sixth week into a global pandemic to find the most incredible from-scratch vanilla cake recipe, something I’ve been searching for now for years. But I found it. And it’s amazing. You’ll want to book mark this post for future birthday parties, holidays, or seasons where maybe you’ll find yourself stuck inside your house craving cake. If you’re wondering what other things we’ve done during lockdown that don’t involve baking a whole cake at 9:00 am on a Tuesday, you can read this.
Second, I have fond memories of when I first started this blog as an outlet to share my adventures in baking. At the time I was living in Chicago and there was a small cupcake shop in Lincoln Park that we would go to whenever we were in the neighborhood. I don’t typically like buttercream or frosting but this cupcake shop completely won me over with the most delectable frosting I’ve ever tasted; airy, light, not too sweet. As such, it turns out there’s a thing called Swiss meringue buttercream and it’s heaven.
Third, one of my overarching goals for 2020 is to Add Delight to Our Home. This goal encompasses many tangible focal areas, one of which is to improve my cooking and baking skills. I won’t go deeper into this goal as it’s one I have intentionally planned to talk about in third quarter BUT I mention it here because after a kid’s baking class at Sur La Table with my niece and nephew in February, I can fearlessly and successfully now make homemade Swiss meringue buttercream. And you can too!
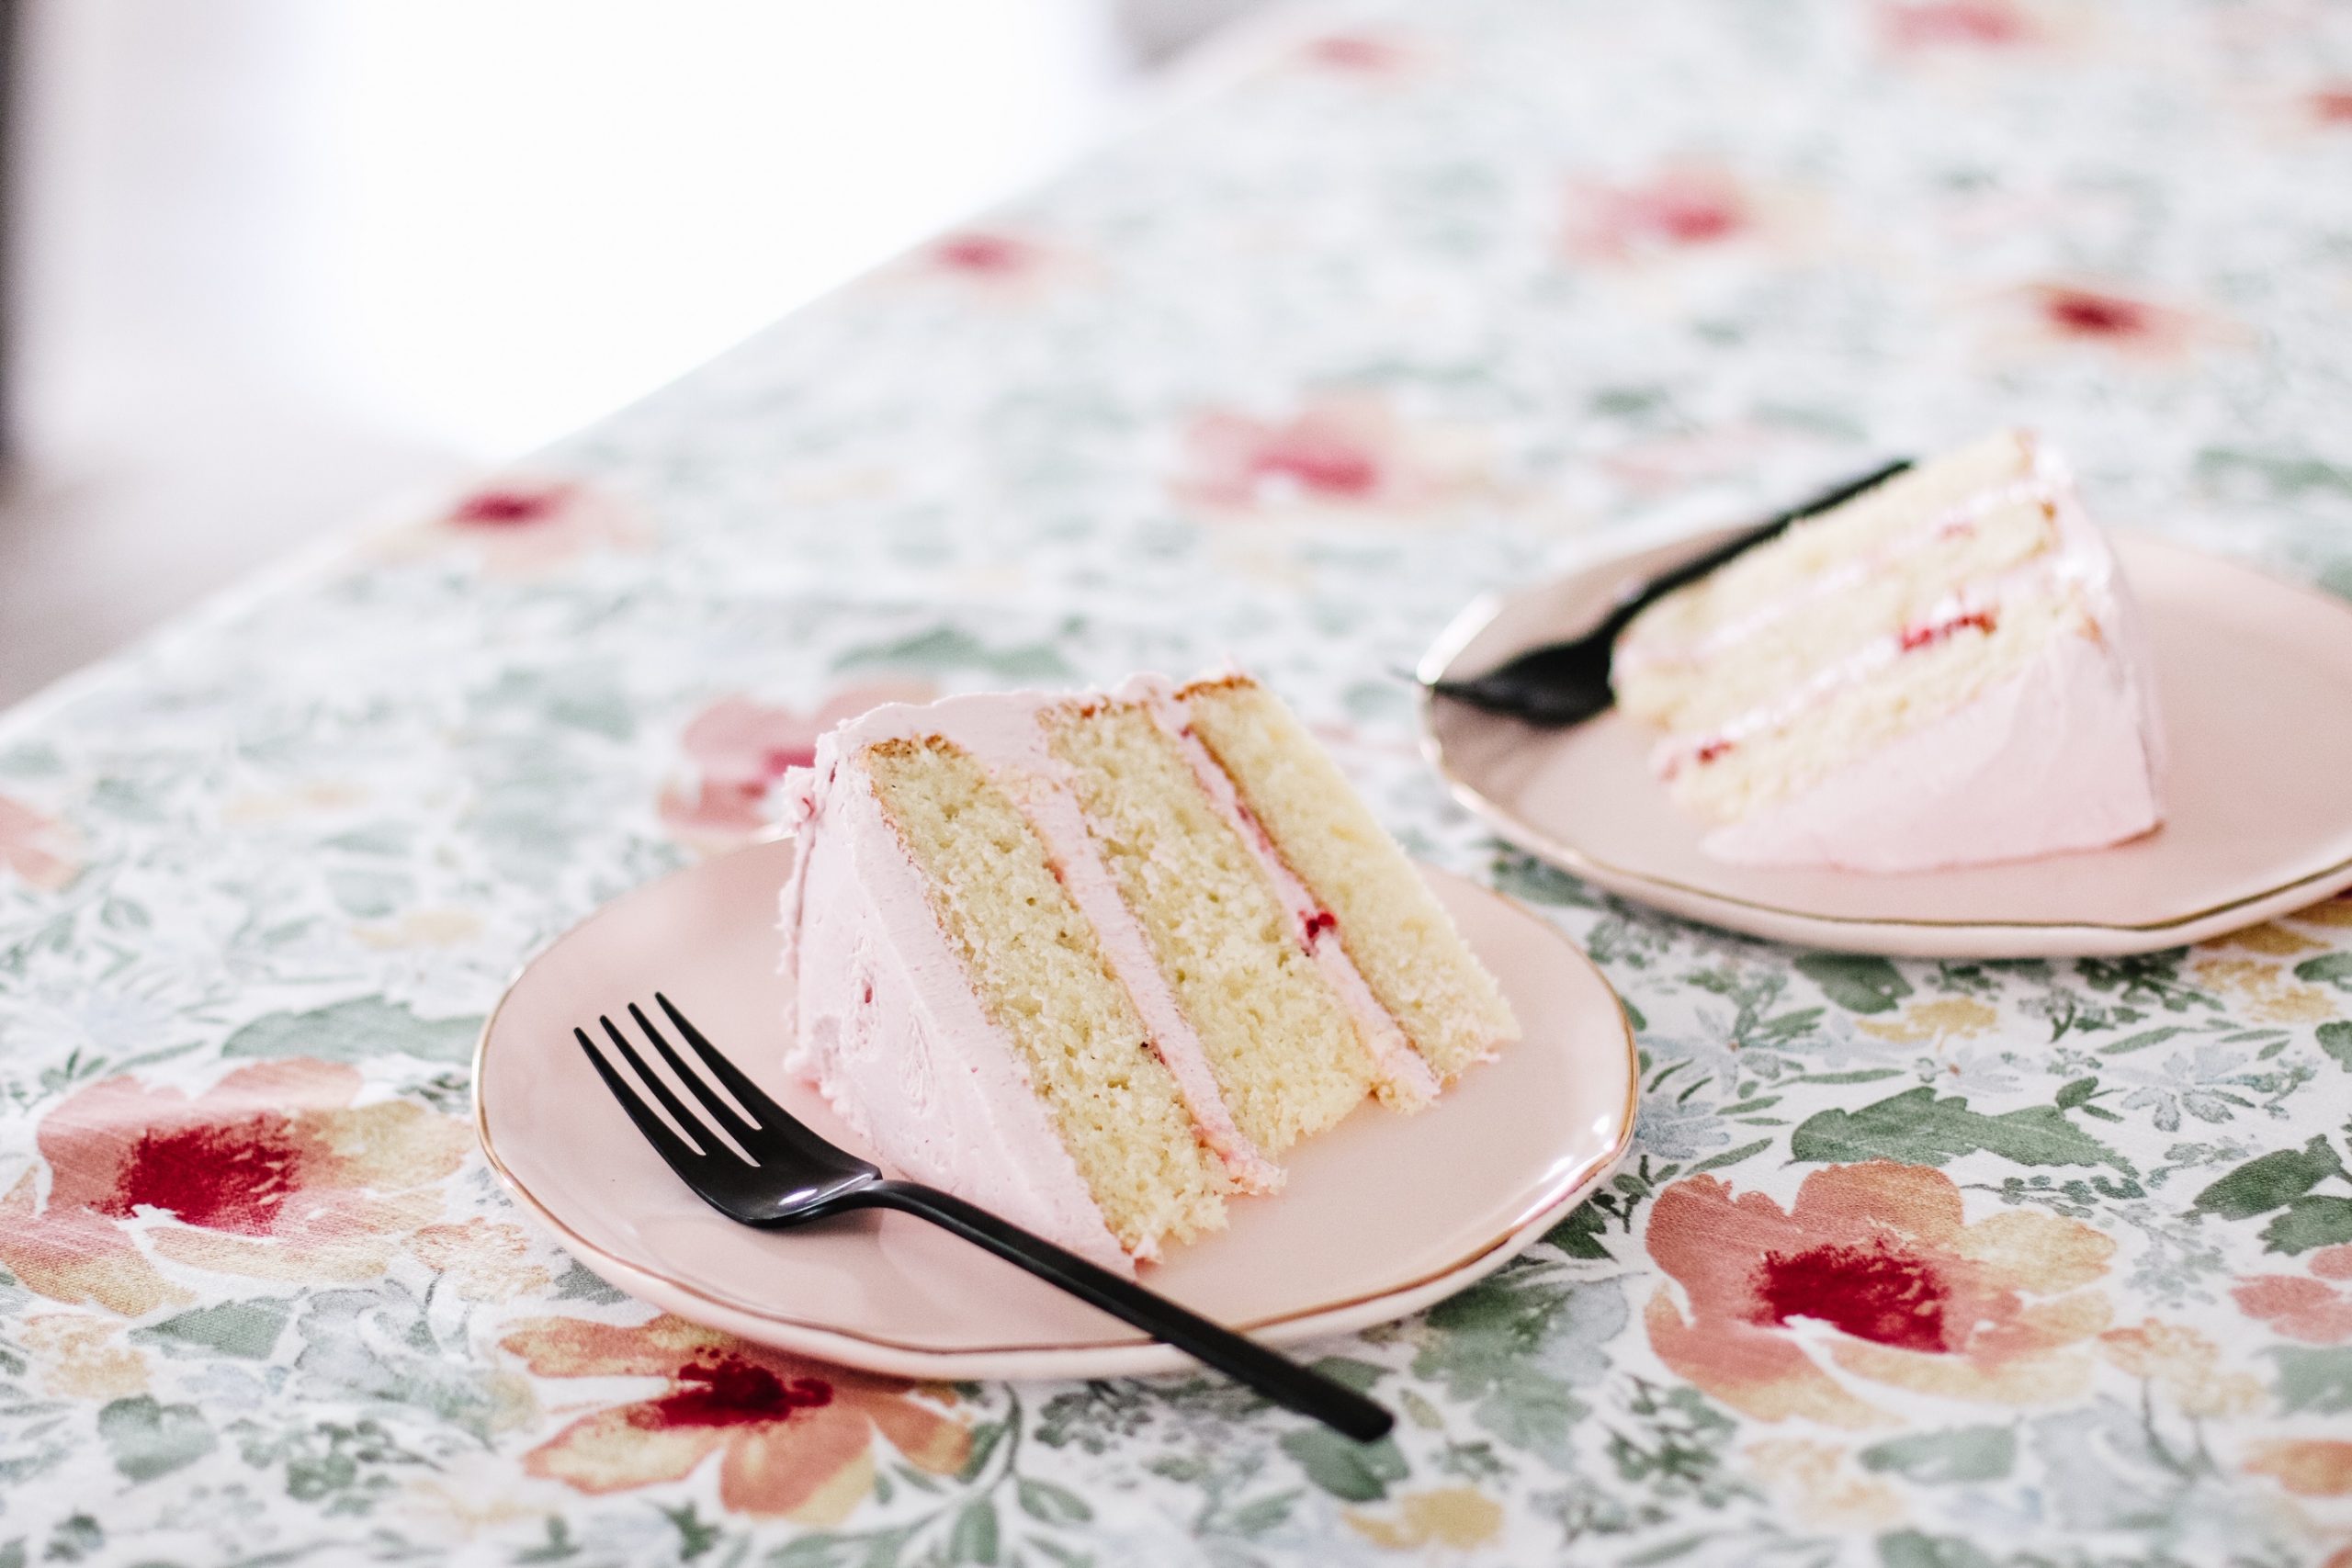
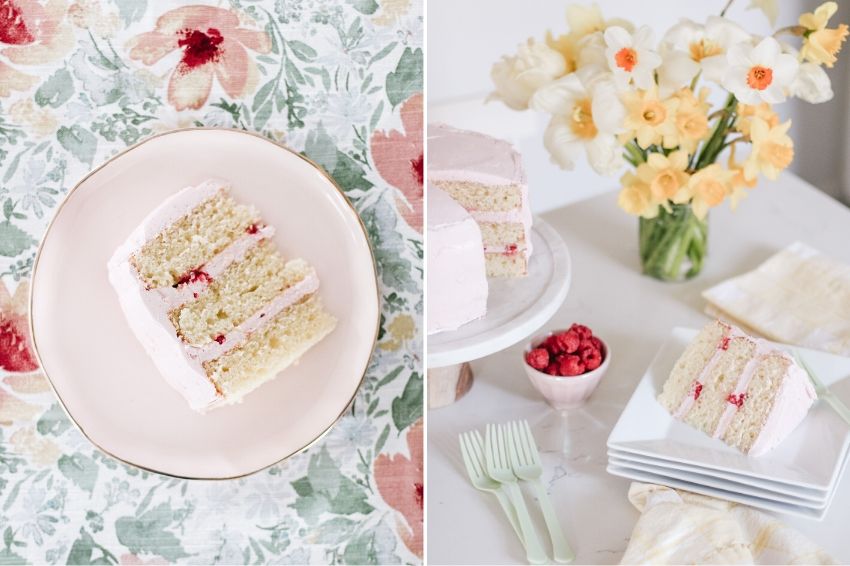
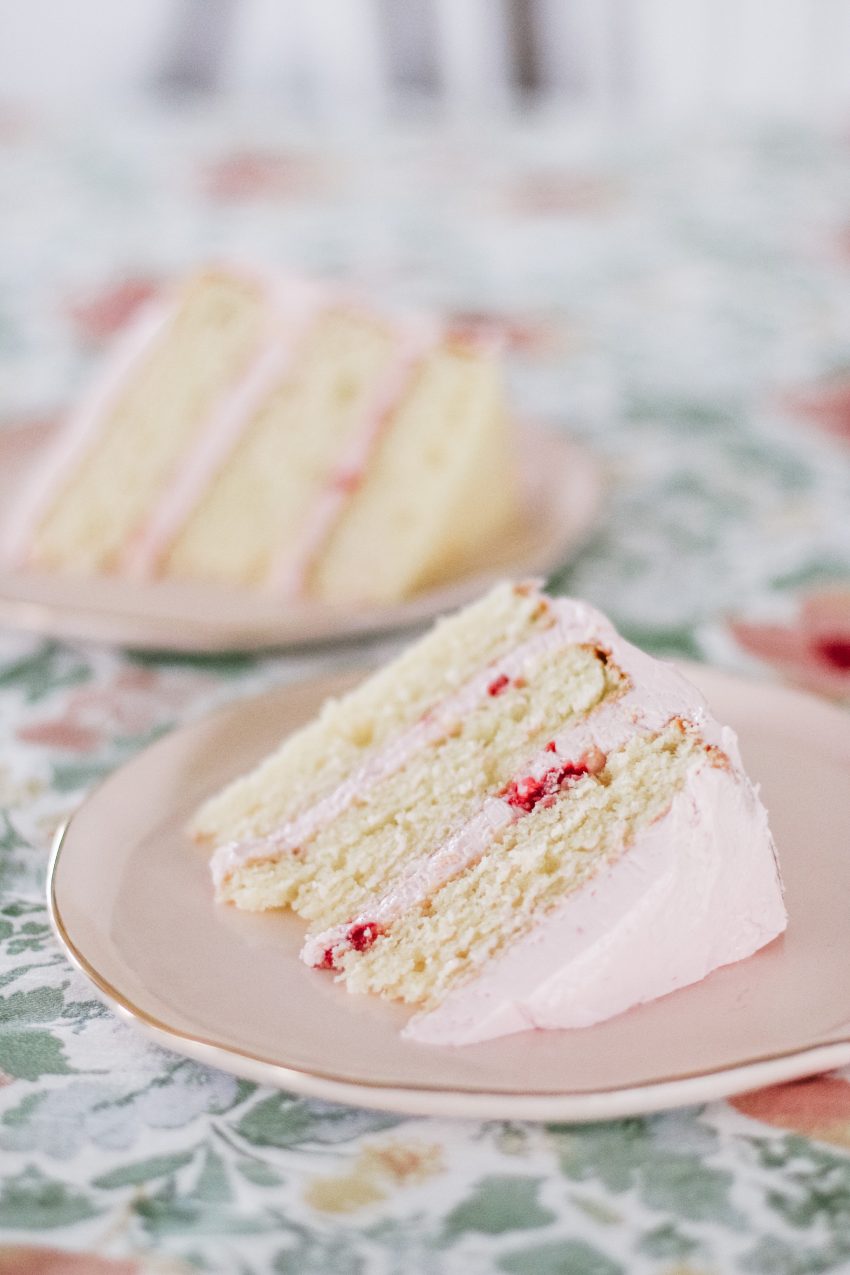
Below is a fool-proof recipe for from-scratch vanilla cake and fresh raspberry Swiss meringue buttercream. While my husband says my double chocolate cake with peanut butter buttercream is still his favorite, I have to say this very concoction shared here – moist, spongey vanilla cake with fresh tart raspberries and sweet fluffy meringue – might just be mine.

Raspberry Swiss Meringue Buttercream
– 2 cups fresh raspberries
– 1 cup fresh raspberries (to go inside the layers)
– 6 egg whites from large eggs
– 2 cups granulated sugar
– 2 cups (4 sticks), unsalted butter, room temperature
From-Scratch Vanilla Cake
– 1 1/4 cups vegetable oil
– 1 3/4 cups white sugar
– 4 large eggs, room temperature
– 1 tablespoon pure vanilla extract
– 2 3/4 cups cake flour
– 1 tablespoon baking powder
– 1 teaspoon salt
– 1 1/2 cups full-fat sour cream
Directions for Cake & Buttercream
1. Preheat your oven to 325 degrees F. Make sure it’s not on the Quick Bake function! Grease, flour, and line cake pans with parchment paper to make releasing the cake layers easy peasy. I used an 8-inch cake pan and suspect anything bigger would make too skinny and wide of cake layers. I’m sure you can also make delicious cupcakes with this same recipe but with shorter baking time.
2. In the bowl of your stand mixer using the paddle arrangement, cream oil and sugar until well combined and silky-gooey in texture. This mixture won’t look fluffy like when you cream sugar and butter together so resist the urge to keep the mixer going for longer than you need. Add eggs in one at a time, scraping down the sides of the mixing bowl as you go. Add in the vanilla extract.
3. In a separate bowl sift together cake flour, baking powder, and salt. Add the dry mixture to the wet ingredients in two separate batches, stopping each time to scrape down the sides of the bowl. Keep the mixer on the lowest setting for 30 seconds.
4. Add in the sour cream and mix just until combined. You can also fold in the sour cream by hand with a spatula. The cake batter should have a beautiful pale yellow color at this point and a thickness that’s the consistency of melted custard.
5. Divide evenly into three cake pans. If you only have one or two cake pans and need to bake your layers in shifts, I found the recipe gave me about 2 cups worth of batter per cake pan. Tap the bottom of the pan(s) to release any air bubbles. Bake in the center rack for 30 – 33 minutes or until the edges of the cake turn light brown and the center is springy to the touch. Let cake cool.
6. While the cake bakes and cools, begin to prepare your fresh raspberry puree. This will be what flavors the Swiss meringue buttercream so if you want a buttercream without the subtle fruit flavor you can skip this step (or consider an alternative flavor profile like vanilla, white chocolate or almond). Blend fresh raspberries in a food processor or blender until pureed and smooth.
7. In a small pot over medium-high heat, cook the raspberry puree until reduced to about half. Watch the mixture carefully and stir occasionally to avoid burning the berries. Remove from heat once reduced. Use a fine mesh sieve to strain the reduction apart from the seeds. I found gently ‘pushing’ the puree through the mesh with the back of a spatula was helpful as the reduction and seeds make for a thick mixture that doesn’t just flows through on its own. Put reduction in the fridge to cool.
8. In a heat-safe bowl – I use my stand mixer bowl – whisk together egg whites and sugar. Place bowl within double broiler and stir occasionally. The mixture is ready to be removed from heat once the temperature reaches 150 degrees with a cooking thermometer. Be careful not to over or underheat this mixture as the temperature is imperative to the meringue formulating properly!
9. In the bowl of your stand mixture using the whisk attachment, whisk the heated up egg white and sugar mixture on medium high for approximately 10 minutes. The mixture will begin to turn bright white and get very thick. Set a timer for the 10 minutes and use this time to clean up. The meringue is ready for butter once stiff peaks form and the bowl is no longer warm to the touch. Break up the room temperature butter into tablespoon-sized pieces and add to the meringue, a few tablespoons at a time, while the stand mixer is on medium speed. Continue to add all of the butter and the meringue is thick, smooth, and glossy.
10. Add in the cooled raspberry puree to the meringue and mix on low speed until combined. Scrape down the sides and blend one final time. If you’re hoping for a truly pink color you can add in red food-safe coloring, little by little, until you achieve the shade that’s right. Prepare an icing bag with a round frosting tip if you have one or set aside the buttercream to assemble the cooled cake layers.
11. Center the first cake layer onto your desired stand. Pipe a thick border of buttercream around the edge of the top of the cake, continuing to make a swirl pattern all the way into the middle to entirely cover the top. Piping the buttercream like this eliminates as much smearing and spreading of crumbs as possible and also evenly distribute the buttercream. Use a long frosting spatula or butter knife to blend together any separation or breaks in the buttercream and to create a consistent layer.
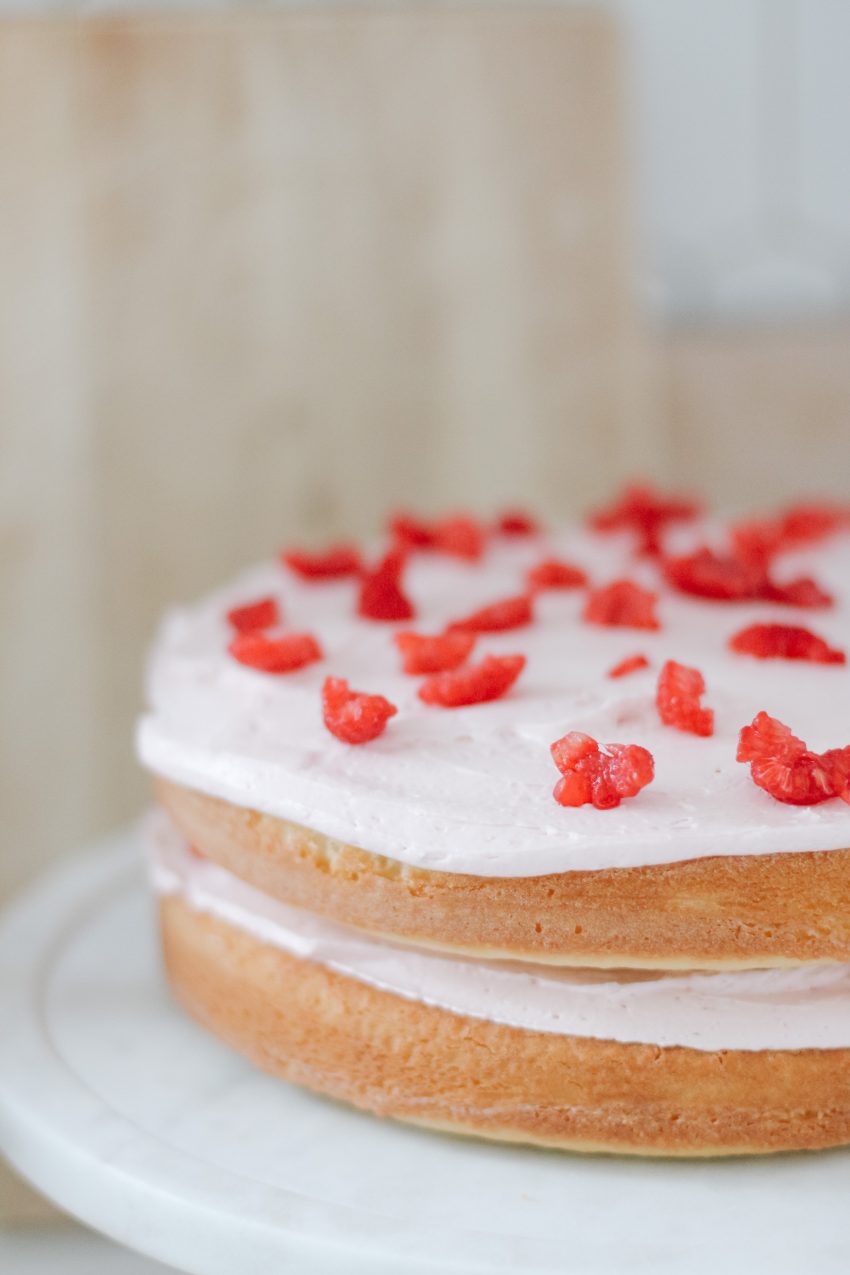
12. Break up the remaining raspberries into little pieces of varying sizes and place half of them on top of the buttercream layer. If your second layer of cake is completely cooled, place that as carefully as possible on top of the raspberry layer, creating now a two-layer cake. Repeat piping swirl technique to cover the second layer in more buttercream and add the remaining raspberry pieces.

13. This particular Swiss meringue recipe yields an amount of buttercream that barely covers the entire cake if you use generous amounts in between the layers so I recommend picking what’s more important for the occasion (thick buttercream between layers versus a heavily frosting cake) OR doubling the recipe. Once the top layer of cake is in place repeat the piping swirl technique one final time. Starting in the very middle of the top of the cake, use your spatula to smooth the buttercream outwards which will inevitably push some buttercream to the edge. This overflow of buttercream may then be used to frost the sides of the cake.
14. Using whatever leftover buttercream you have, frost the side of the cake. I used a piping bag and large round tip to first fill in the gaps between layers where the raspberries were. Then I took my spatula and vertically smeared buttercream from those gaps in upwards swoops as best I could to cover all the cake with a thin layer of meringue. Decorate with any other details as desire, and enjoy!

What your favorite go-to cake recipe? Share it below!
Xo